Health
PlatformDomainAcademyDesign SystemFeedback
v1.3
v1.3
  • 👋Introducing DIGIT Health
    • Release Notes
      • v1.3 Release Notes
      • v1.3 Tech Release Summary
        • Master Data Management Service (MDMS) & Configuration Updates
        • Test Cases
        • Service Build Updates
      • v1.2 Release Notes
      • v1.0 Release Notes
  • 💙HEALTH CAMPAIGN MANAGEMENT
    • Understanding DIGIT Health Campaign Management (HCM)
    • Value Proposition
  • 🎯HCM PRODUCT SUITE
    • Functional Specifications
      • Campaign Type Setup
      • Campaign Setup
      • Inventory
      • Boundary Hierarchy
      • Beneficiary
      • Boundary Data Specs
      • Draft System User Setup
      • Role Action Mapping
    • Building Blocks & Services
    • Health Products
      • DIGIT HCM App
        • User Manual
          • Single Round Campaigns
            • Registration & Delivery
          • Multi-Round Campaigns
            • Registration & Delivery
            • Download Beneficiary Data
          • Common Functions
            • User Management
            • 2D Voucher Scanning
            • Proximity-Based Search
            • Voucher-Based Registration and Distribution
            • Tracking Beneficiary Referrals
            • Tracking Side-Effects for Beneficiaries
            • Tracking Adverse Events
            • Health Facility Referral
            • Raising Complaints
            • Resolving Complaints
            • Inventory Management
              • User Manual
                • Stock Management
                • Stock Reconciliation
                • View Reports
                • Bale Scanning
            • Attendance Management
          • Support Functions
            • Language Selection
            • Login
            • Forgot Password
            • Project Selection
            • Hamburger Menu
            • Help
            • Sync
            • Checklist
      • Campaign Management Dashboard
        • User Manual
      • Microplanning
      • HCM Console
  • 🚀REFERENCE IMPLEMENTATIONs
    • Mozambique
      • LLIN Overview
      • Customisation
      • Rollout
  • 🧰TECHNOLOGY
    • Architecture
      • High Level Design
        • Health Campaign System High Level Design
        • Design Decision Log
      • Low Level Design
        • Registries
          • Individual
          • Household
          • Product
          • Facility
          • Attendance
        • Services
          • Project
          • Stock
          • Referral
      • Field App Architecture
    • Standards
    • Security
    • Interoperability
  • 🪝SETUP
    • Planning an HCM Implementation
    • Establish Project & Team
    • Gathering Requirements
    • Installation
      • Install Using GitHub Actions in AWS
      • Setup Seed Data
      • Setup App
      • Setup Kibana Dashboard
        • Create or Edit Existing Dashboards
        • Summary of Data Views and Dashboards
    • Configuration
      • Service Configuration
        • Individual Registry
        • Household Registry
        • Product Registry
        • Facility Registry
        • Stock & Inventory
        • Project Services
        • Referral Management
        • Attendance
        • Complaints
          • QA Sign-Off
            • Test Cases
        • User Management
          • QA Sign-Off
      • UI Configuration
        • Stock Management
        • Language Selection
        • Login
        • Forgot Password
        • Project Selection
        • Attendance Management
          • Attendance Package Extraction and Interaction with HCM Application
      • Dashboard Configuration
        • Dashboard UI Enhancements
        • HCM Dashboard Master Promotion Guide
    • Quality Assurance Testing
  • 🔵GENERAL
    • Source Code
    • Committee
      • Digital Product Advisory Committee Charter
      • Idea Management Process
    • Product Roadmap
Powered by GitBook

https://creativecommons.org/licenses/by/4.0/

On this page
  • Pre-requisites:
  • Steps to Create and Configure Health Dashboards in Kibana

Was this helpful?

Export as PDF
  1. SETUP
  2. Installation

Setup Kibana Dashboard

PreviousSetup AppNextCreate or Edit Existing Dashboards

Was this helpful?

This document outlines the steps required to create and configure health campaign dashboards in a different space within Kibana.

Pre-requisites:

  • Kibana 8.11.3 version to be installed.

  • Knowledge of creating dashboards in Kibana.

  • Transformer and indexer services are up and running to enrich data for KPI creation and push data to elastic search.

Steps to Create and Configure Health Dashboards in Kibana

1. Access to Kibana:

  • URL: {{HOST NAME}}/kibana

  • Replace the {{HOST NAME}} with your domain URL.

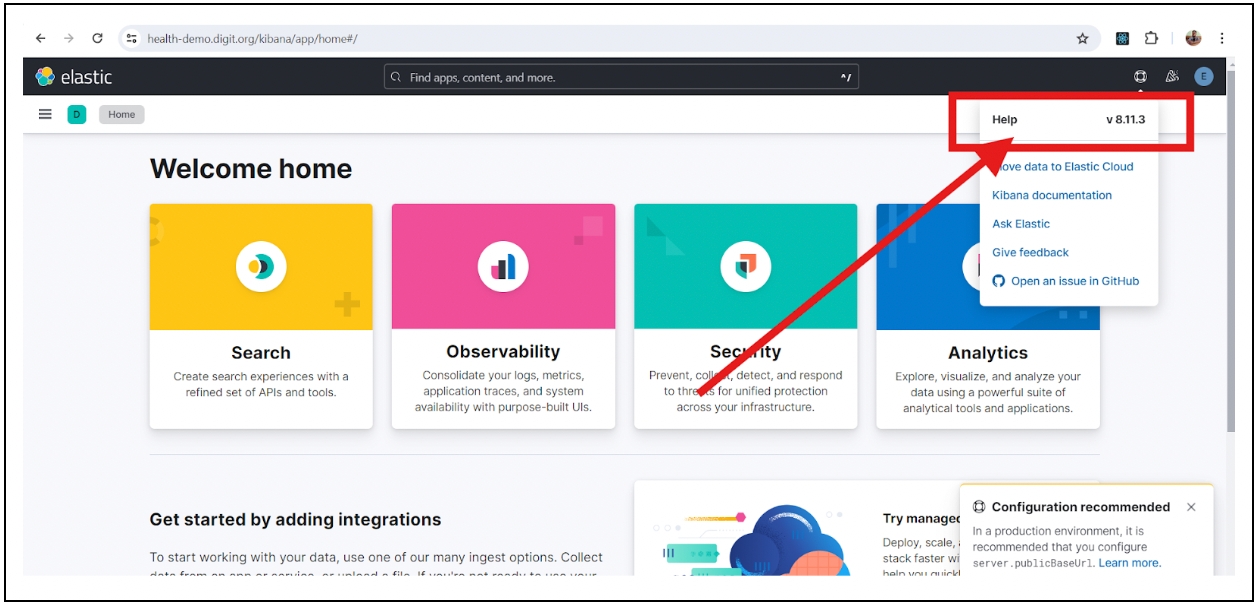
2. Verify installation and services setup:

  • Check the Kibana version through UI in the ‘Help’ section.

  • Verify transformer service and indexer services changes and builds deployed.

  • For reference, attaching the transformer and indexer services repository links here:

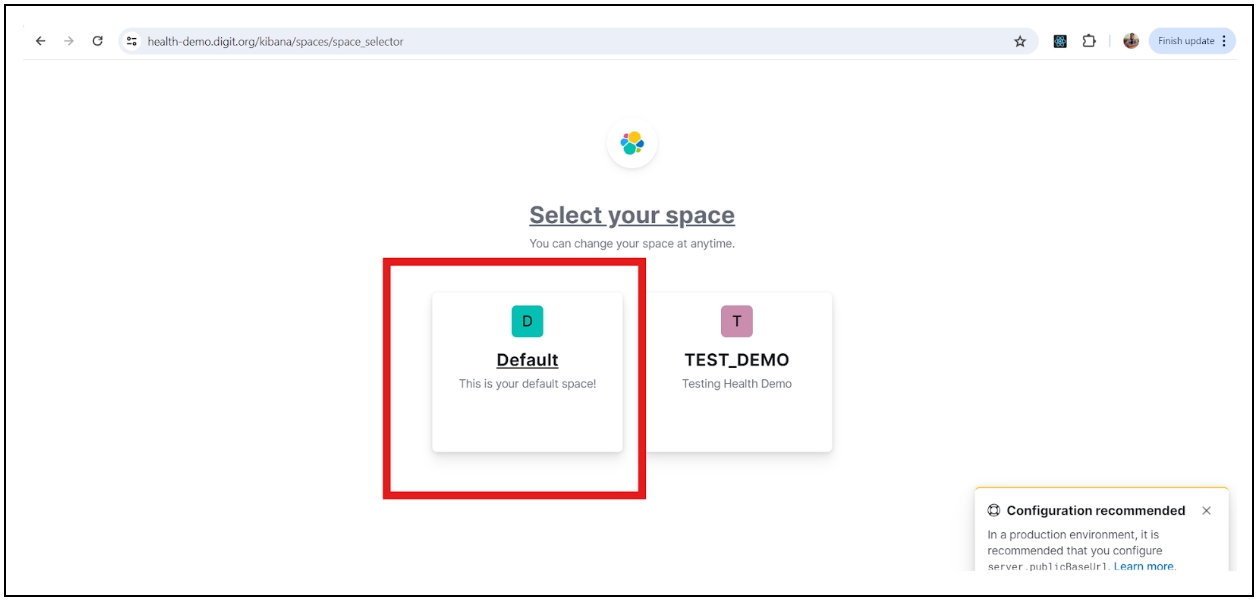
3. Create or select a space

  • By default, users will have access to the default space.

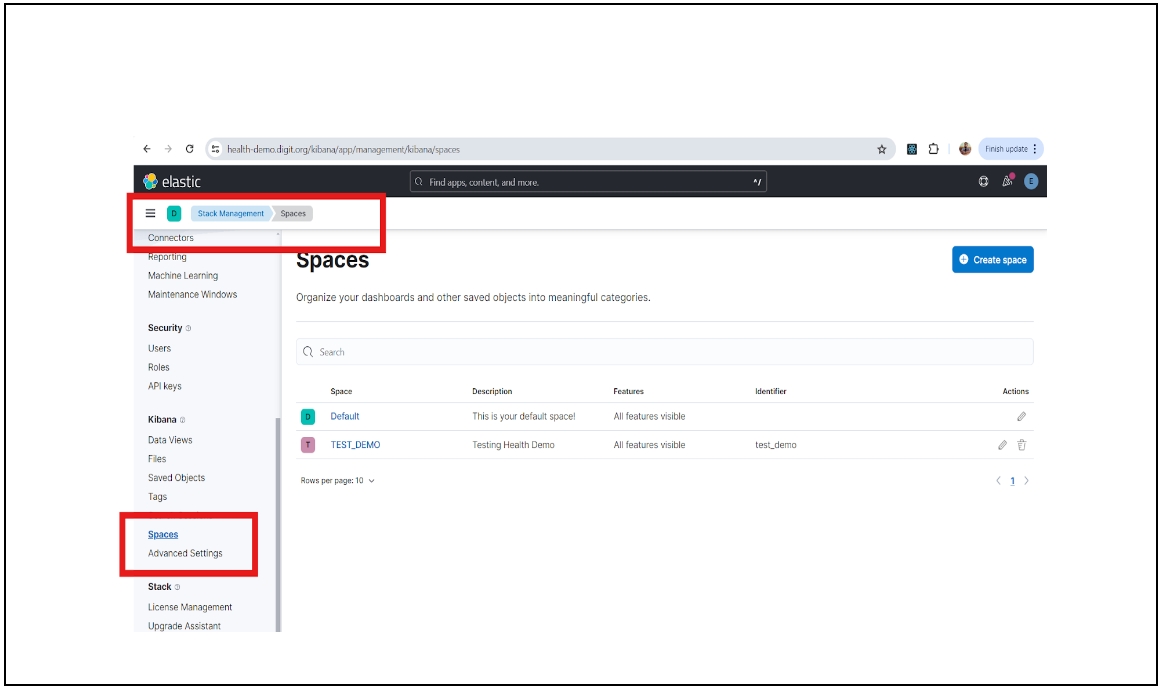
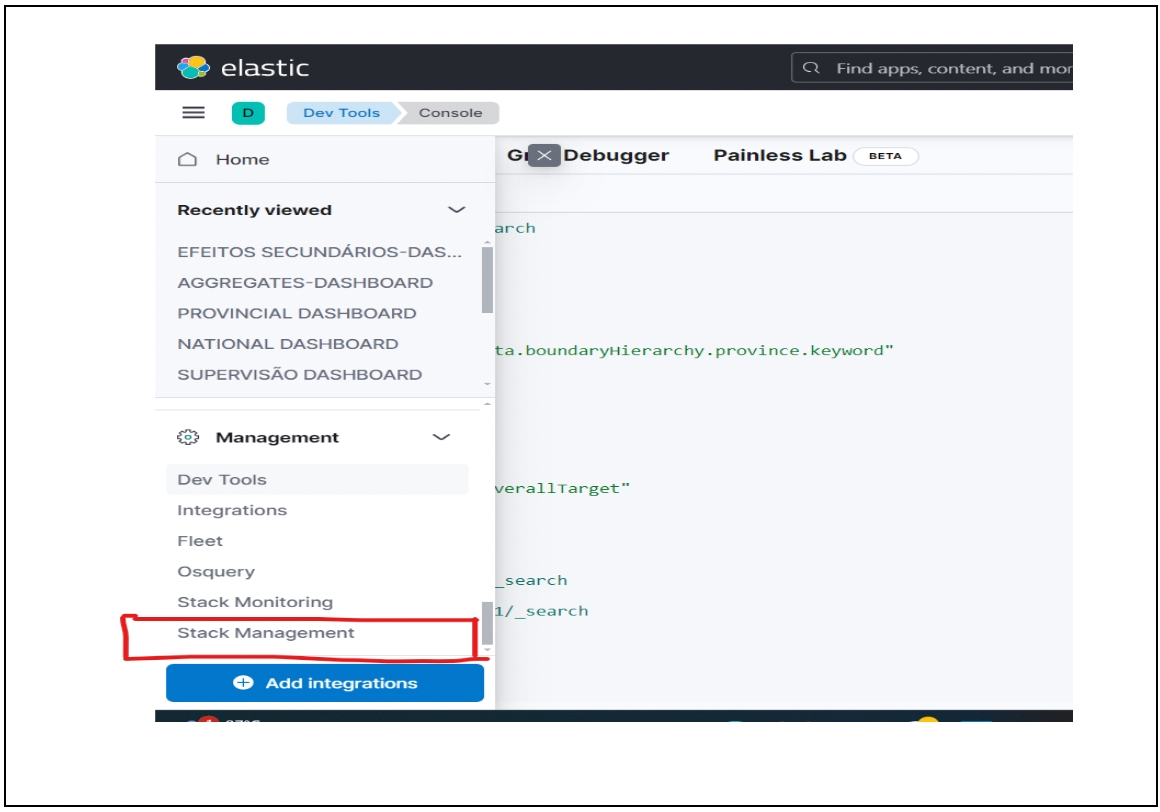
  • To create a new space or edit, open the main menu, then click Stack Management → Spaces for an overview of your spaces. This view provides actions to create, edit, and delete spaces.

  • Switch to or create a new space where the dashboards will be configured.

4. Visualisation of data views and dashboards

  • We have existing data views and dashboards from the product environment that you can import and use. To import existing data views, follow the steps below:

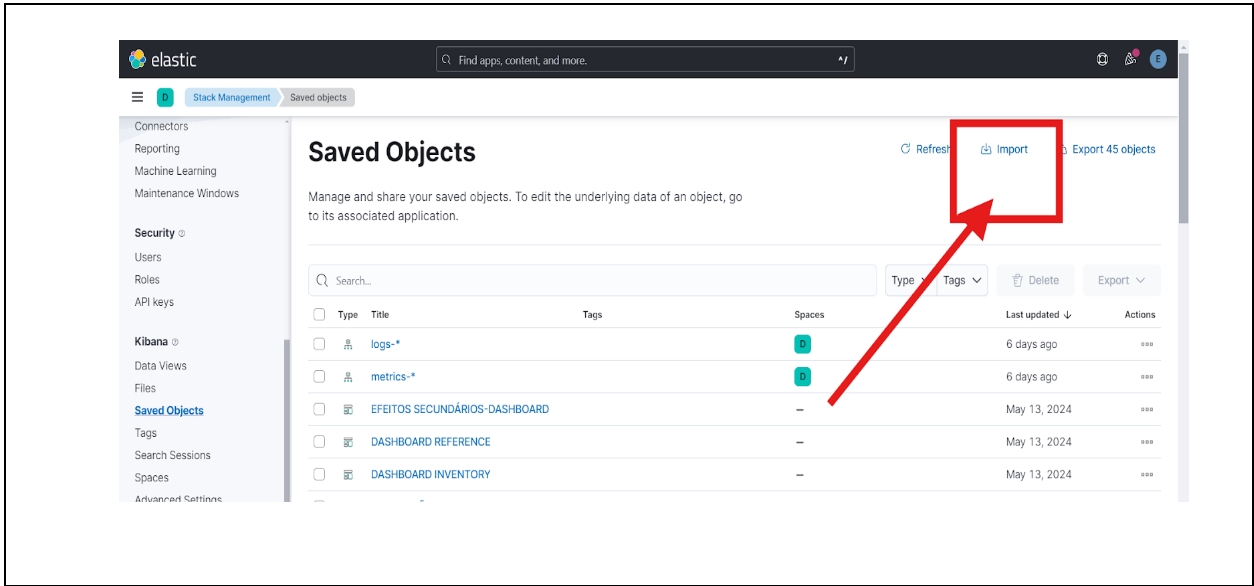
  • Navigate to the “Stack Management” in the sidebar.

  • Click on “Saved Objects” under Kibana.

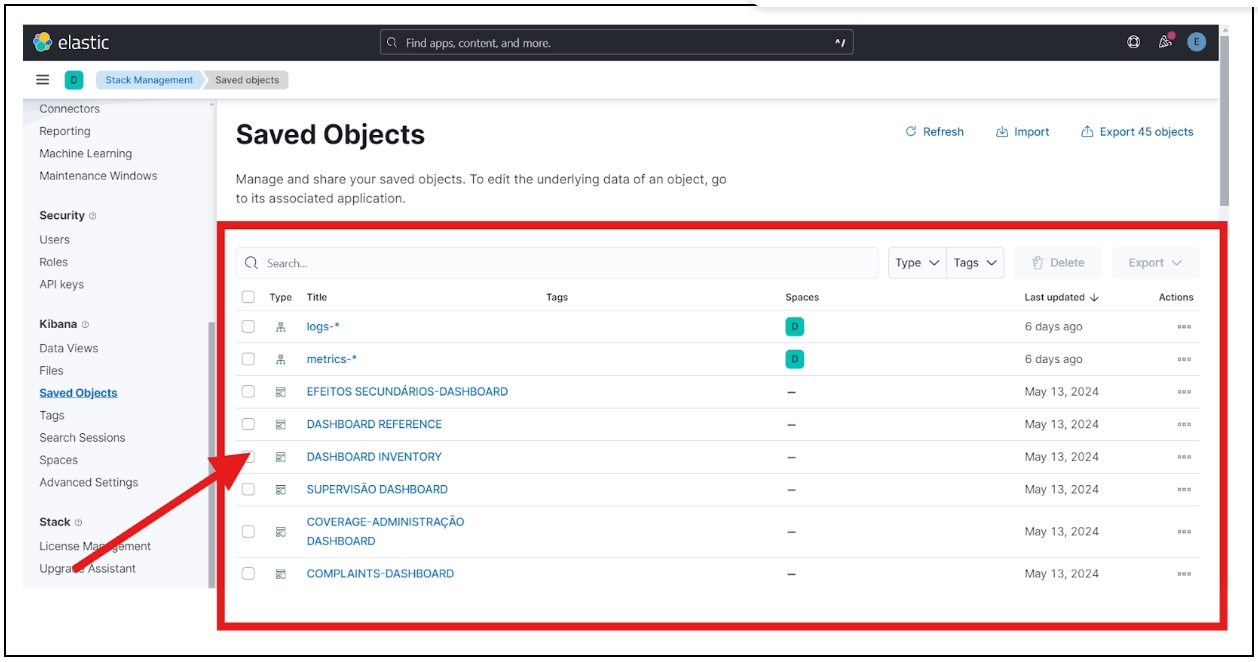
  • All dashboards and data views will be imported here and can be viewed under “Saved Objects”.

5. How to render the dashboards in the DIGIT application

To render the dashboards, using iFrame in your application, follow these steps:

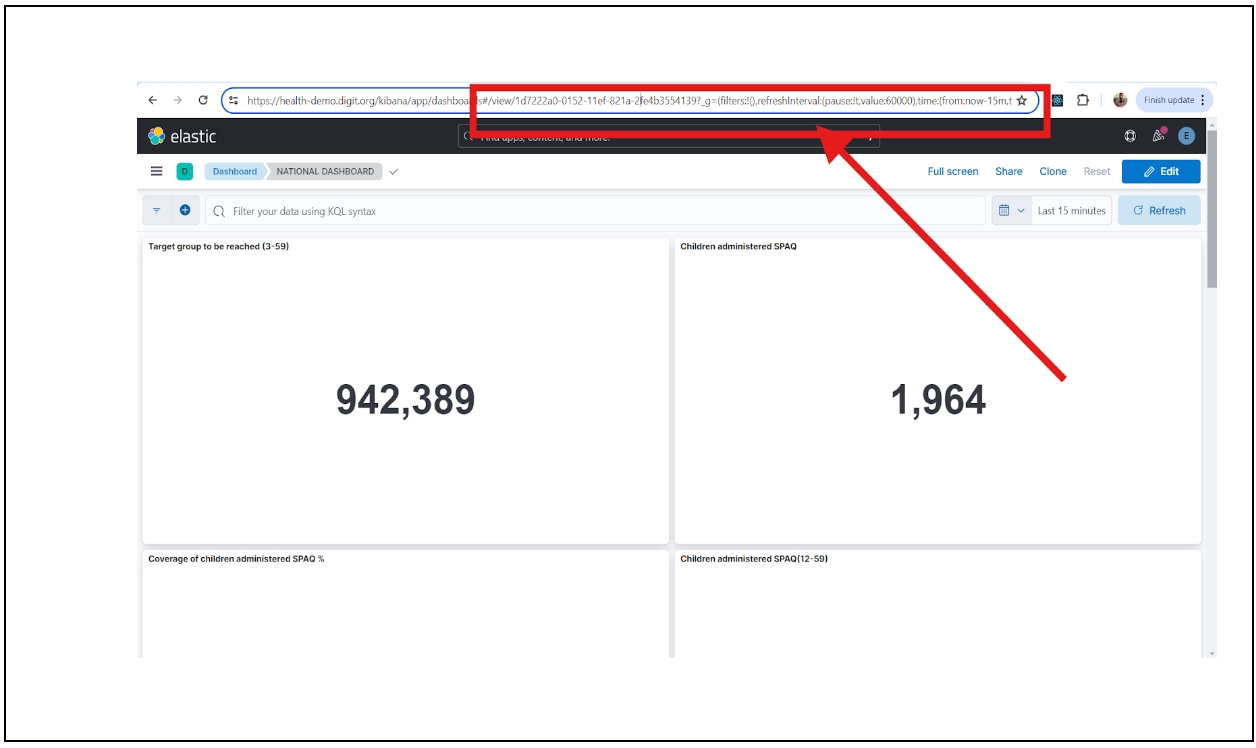
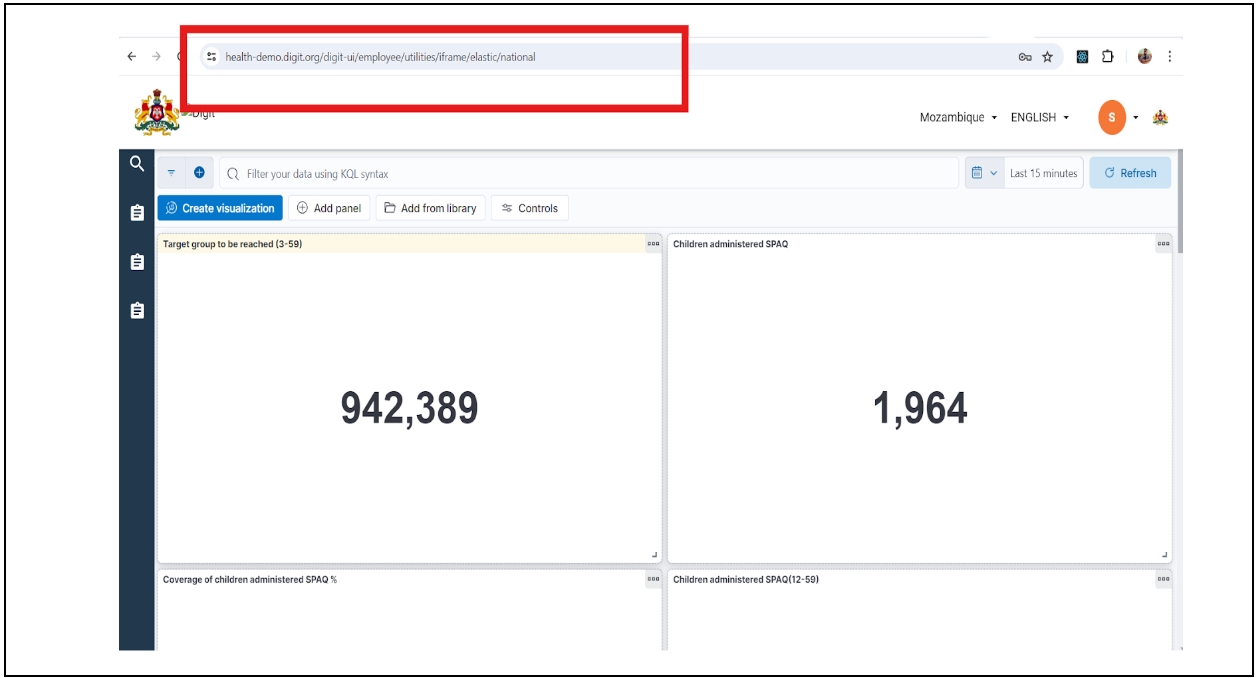
  • Dashboard endpoints can be found by viewing the required dashboard in Kibana.

  • For example, to the dashboard URL to uiCommonConstants, open the national dashboard, and you will find the view URL endpoint at the address bar, as shown in the above image.

{
  "tenantId": "mz",
  "moduleName": "common-masters",
  "uiCommonConstants": [
    {
      "elastic": {
        "iframe-routes": {
          "home": {
            "routePath": "/kibana/login",
            "isOrigin": true
          },
          "national": {
            "routePath": "/kibana/app/dashboards#/view/1d7222a0-0152-11ef-821a-2fe4b3554139?_g=(filters:!(),refreshInterval:(pause:!t,value:60000),time:(from:now-15m,to:now))",
            "isOrigin": true,
            "title": "NATIONAL_DASHBOARD"
          },
          "district": {
            "routePath": "/kibana/app/dashboards#/view/69d01c30-d00e-11ee-a631-9d8465121de3?_g=(filters:!(),refreshInterval:(pause:!t,value:60000),time:(from:now-15m,to:now))",
            "isOrigin": true,
            "title": "DISTRICT_DASHBOARD"
          },

/{contextPath}/employee/utilities/iframe/elastic/national

  • Replace the context path with the application context path.

{
  "id": 1826,
  "name": "DASHBOARD",
  "url": "url",
  "displayName": "NATIONAL_DASHBOARD",
  "orderNumber": 1,
  "parentModule": "",
  "enabled": true,
  "serviceCode": "iframe",
  "code": "null",
  "navigationURL": "/digit-ui/employee/utilities/iframe/elastic/national",
  "path": "iframe.HCM",
  "leftIcon": ""
}
{
      "rolecode": "NATIONAL_SUPERVISOR",
      "actionid": 1826,
      "actioncode": "",
      "tenantId": "mz"
    }

6. Verify the dashboard configured in the application by:

  • Navigating to your employee application URL:

{{HOST NAME}}/{{CONTEXT-PATH}}/employee/user/language-selection

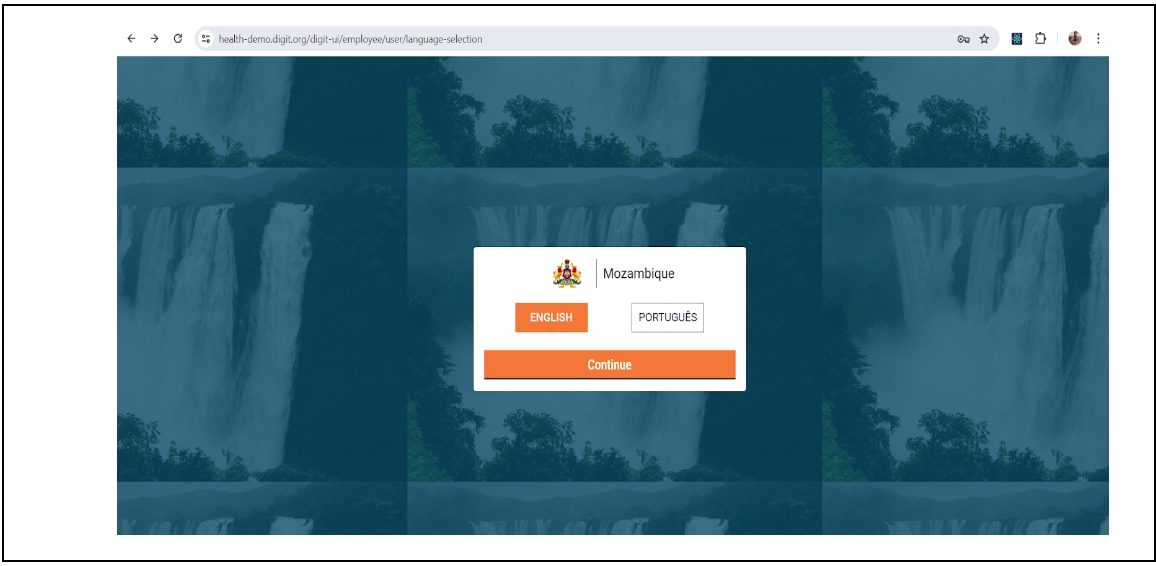
  • Log in with the user credentials for which you have configured the dashboard links.

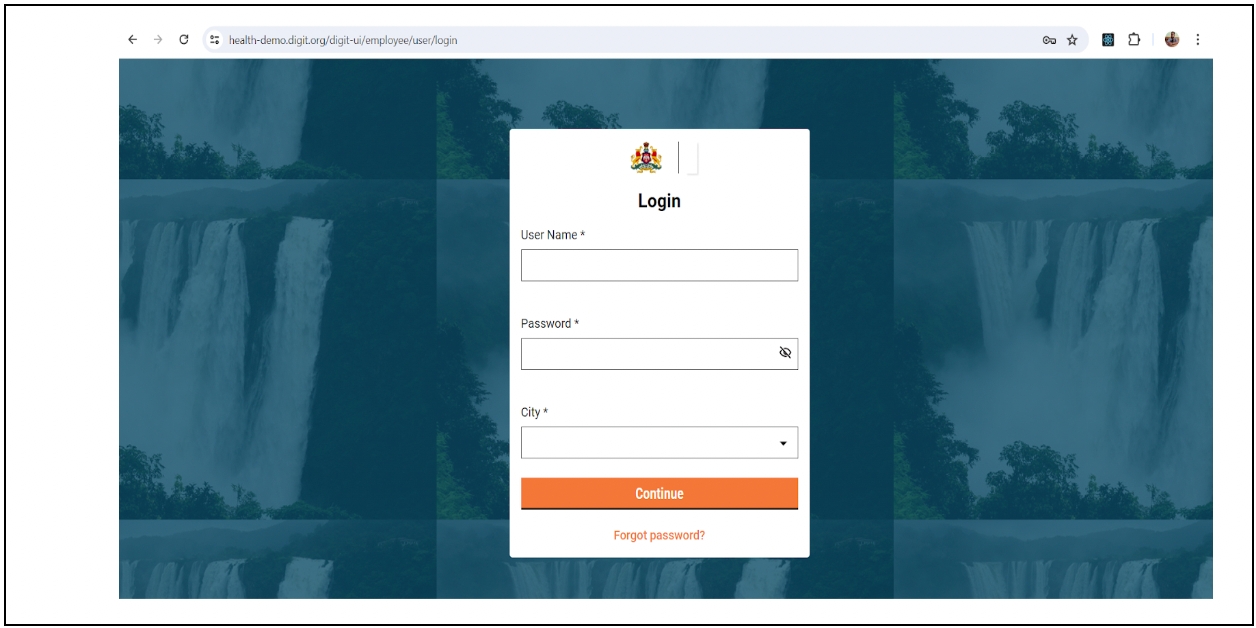
  • After you log in, check the dashboard link that was added in role actions which will be displayed in the the dashboard card.

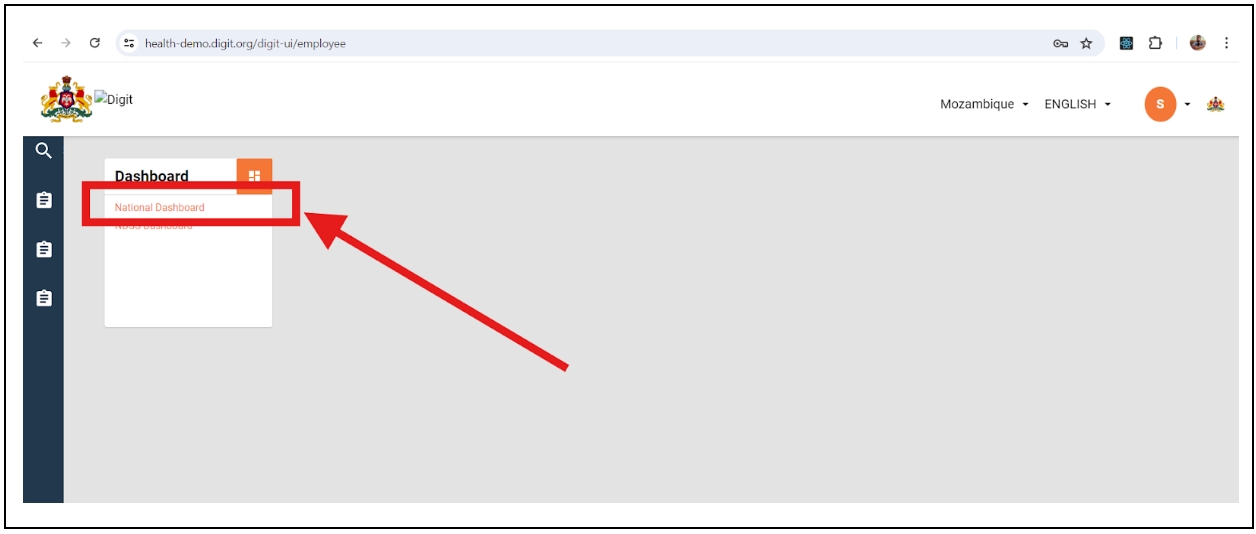
  • Click on the dashboard link configured for the logged-in user. You will see that the dashboard was rendered through i-frame in the UI.

7. Create or edit existing dashboards

8. Summary of data views and dashboards

a.

b.

Import the data views file here. Data views contain the queries and charts needed to fetch data from the indexes. The file to be imported: .

If you need to create your own data views, follow this guide:.

Add your respective dashboard view URLs to common-masters module.

To add the link to the desired dashboard in the DIGIT application based on the roles of each employee, add the iframe URLs in to display each dashboard in your application. For example, to add the link to the national dashboard, the navigation URL should be:

Map the action IDs to the required role in .

To create a new dashboard or edit existing dashboards in Kibana, click .

To view a summary of data views and dashboards in HCM, click .

🪝
Transformer service
Indexer service
Production Dashboard Data Views Export File
Creating Data Views in Kibana
uiCommonConstants.json
ACCESSCONTROL-ACTIONS-TEST
role-actions.json
here
here