Loading...
Loading...
Loading...
Loading...
Loading...
Loading...
Loading...
Loading...
Loading...
The support features enhance user satisfaction, promote ease of use, and contribute to the app's overall effectiveness in facilitating seamless interactions and data management
Click on the links below to learn more:
Allows users to select their preferred language for the app UI. It enables users to easily switch between the languages, which enhances the user experience.
Select between Portuguese, French, and English languages.
When the user opens the application, it asks them to first select the language. The selected language is highlighted in orange color.
On this page, the following actions can be performed:
A user can switch the language by clicking on Portuguese, French, or English.
A user can click on 'Continue' to navigate to the login screen.
Users are redirected to this screen once they click on the "Forgot Password" button in the language selection screen.
Clicking on the forgot password option in the login page opens a popup message “Please contact your administrator if you have forgotten your password”. This is an informative popup which does not lead to any further action within the application and the user can close the popup by clicking on 'OK'.
After clicking on the hamburger button, a list of actions appears on the user screen. The top displays the user name and contact number, followed by other options such as the home button, language select, edit profile, projects, and logout.
If the user clicks on the hamburger button again, it collapses the hamburger menu. The button is available on all screens of the application.
The user can edit his/her name, and phone number, and select the gender. After updating the details, the user needs to click on the save button which opens a prompt stating “saved successfully”.
If the user does not want to make any changes, he/she can click on the back button, which will take them back to the hamburger menu.
Brief Intro
Checklist is a tool that enables supervisors to monitor certain activities and record observations according to defined set of questions.
Allows users to observe the tasks and fill checklists.
View all the submitted responses for the checklists.
User Roles
Supervisors
Fill the checklists
View submitted checklists
Supervisors are responsible to oversee the campaign operations and monitor the activities, and ensure the targets are achieved effectively.
The "My Checklist" screen allows supervisors to perform random or scheduled inspections, and record observations of the inspection activity.
On this page, the following actions can be performed:
Clicking on "My Checklist," will display the checklists assigned to the user role.
Clicking on any checklist will show a popup with
- Fill Checklist
- View Submitted Checklists
The "Fill Checklist" option will allow the supervisor to fill the checklist against the date and the administrative area.
The "View Submitted Checklists" will show the checklists submitted by the supervisor.
Log in to the HCM app with user ID and password.
Users are redirected to this screen once they select the preferred language in the previous screen.
On this page, the following actions can be performed:
A user can log in to the app by giving the User ID and Password.
The "Forgot Password" button gives a user the option to contact the administrator to reset if he/she has forgotten the password.
Brief Intro
Sync action allows users to sync the data that is recorded in the system so that it reaches the server and the data is secured.
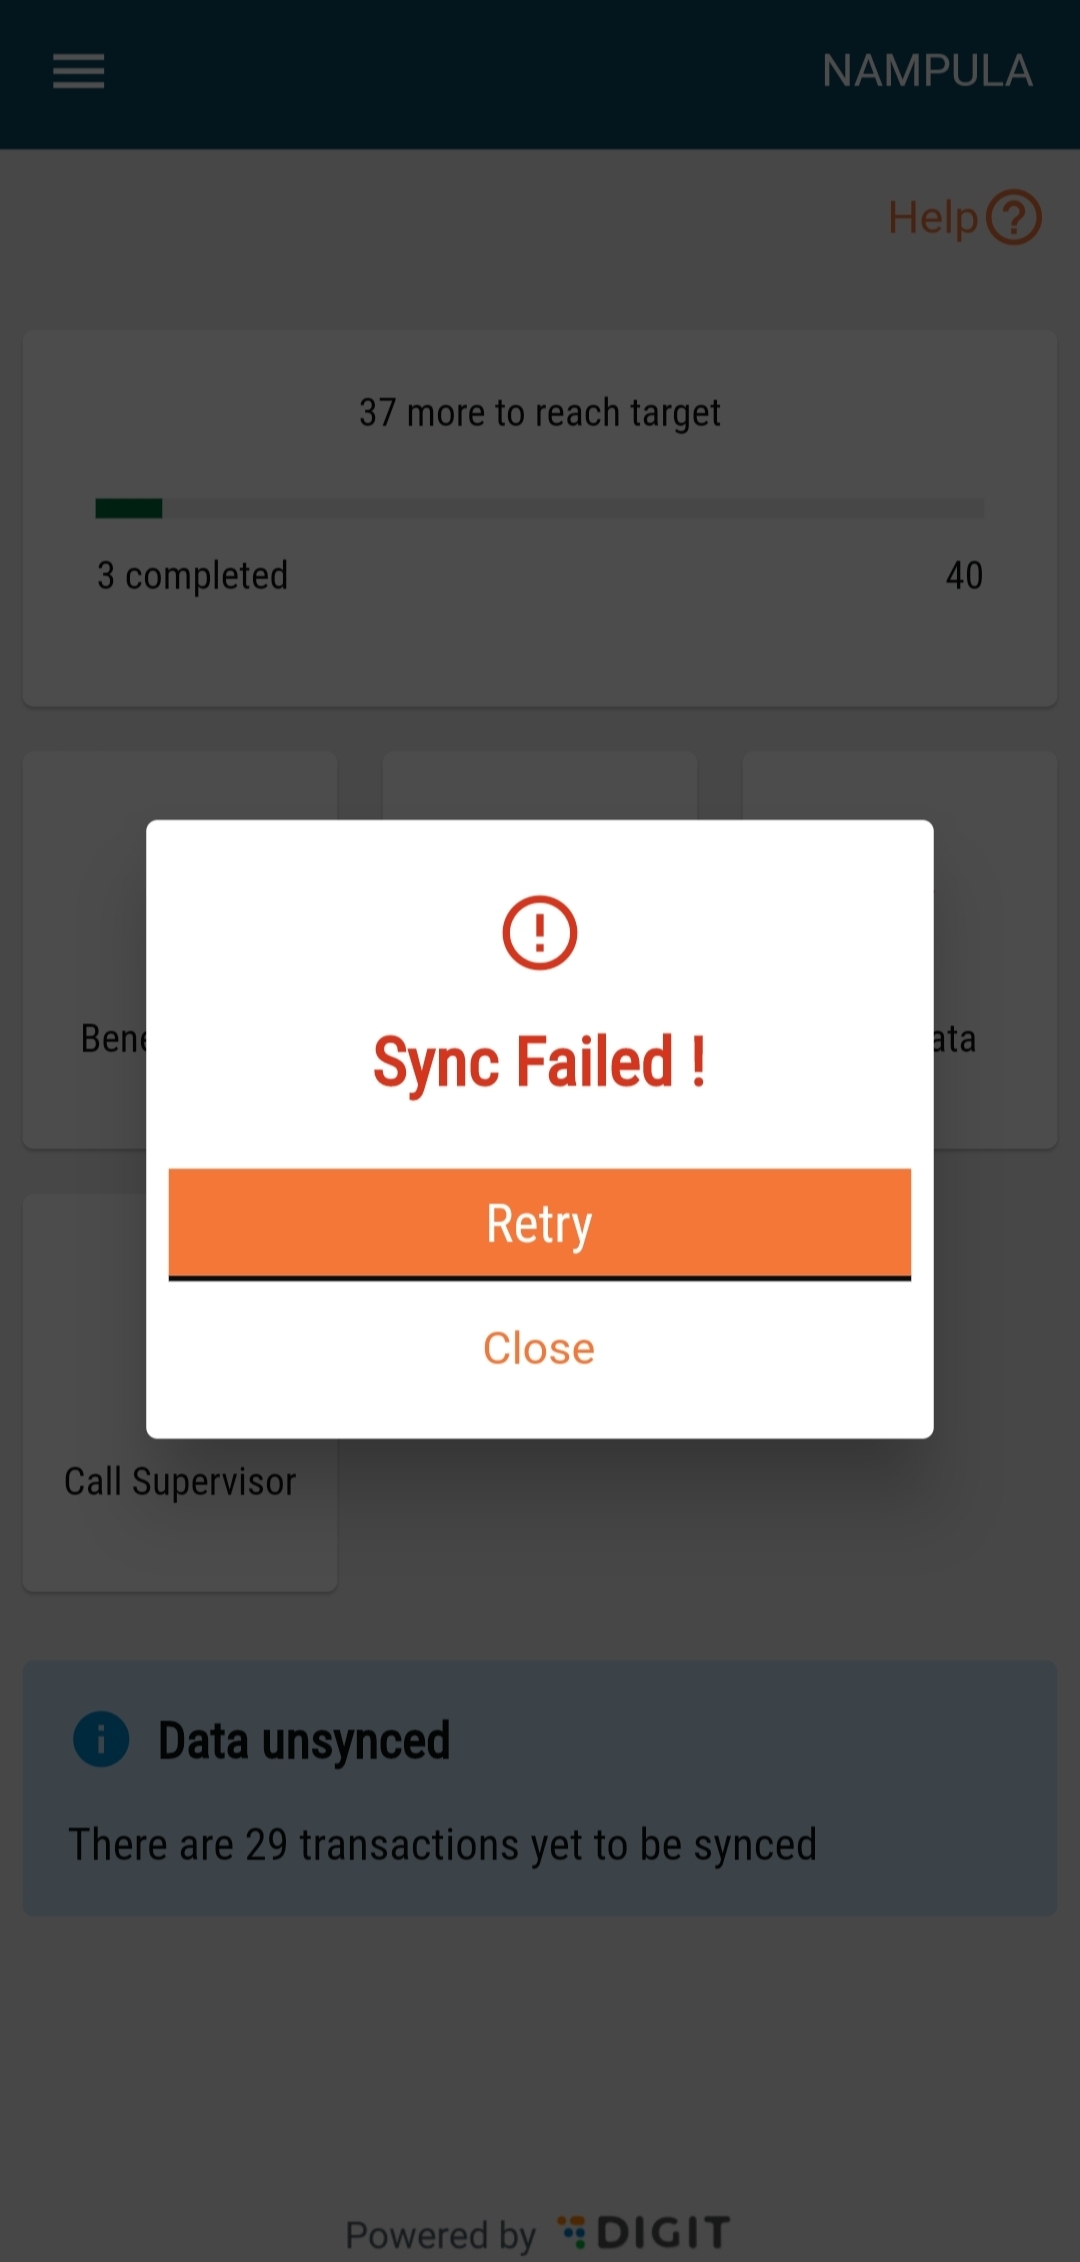
Before going into the field, the user needs to log into the application every day, which will initiate an automatic sync process. For manual sync, there is a "Sync Data" button on the home screen, which allows the user to sync data according to his/her convenience. At the bottom of the screen, there is a card that shows the message “Data unsynced” along with the number of records unsynced.
When the user clicks on the ‘Sync’ button, the sync action starts along with an overlay showing “Sync in Progress” over the home page. The user cannot perform any other action until the sync is complete or there is some error.
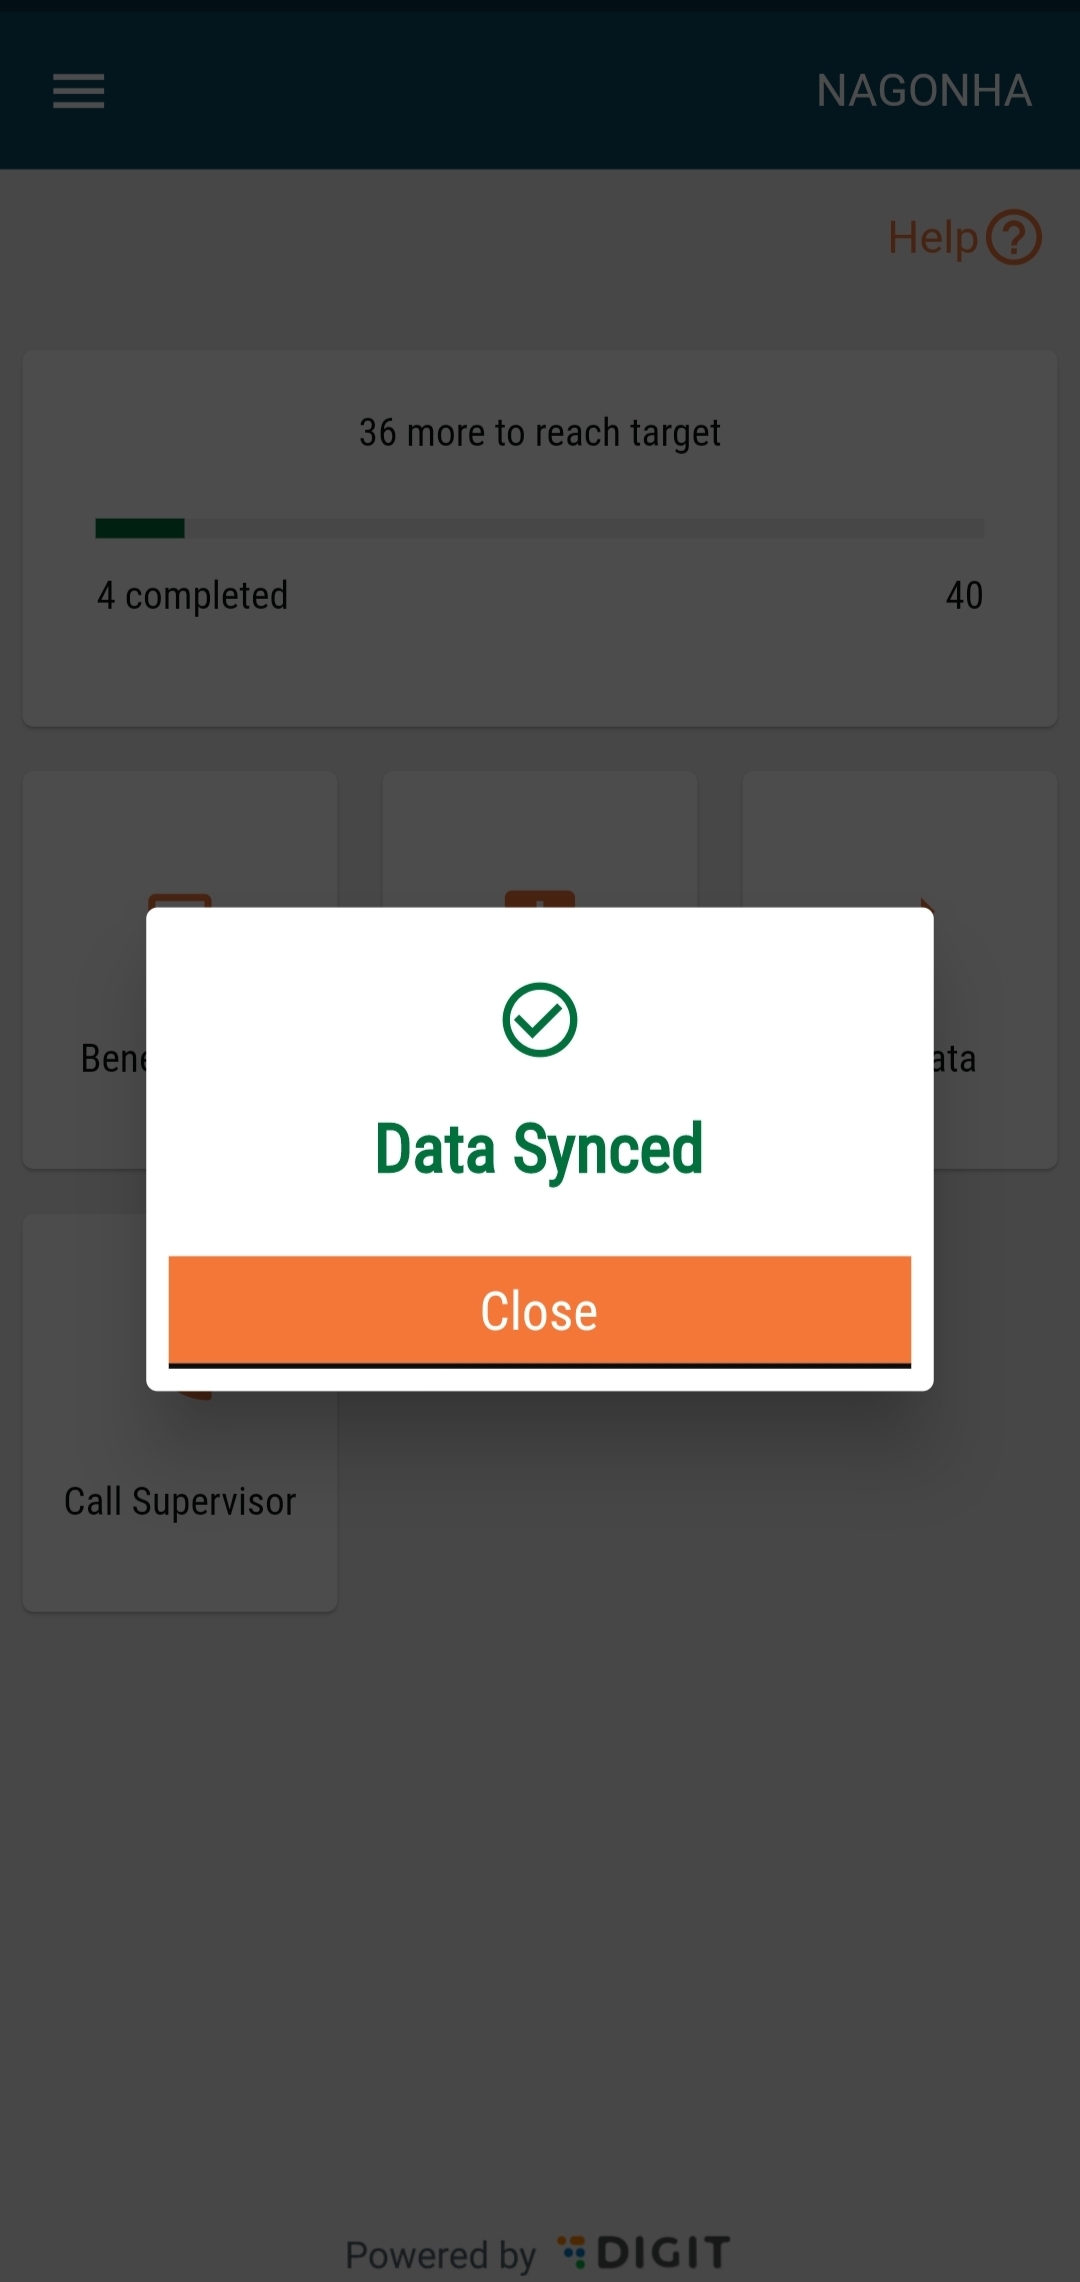
Once the data is synced, it will show a popup, stating “Data Synced” along with a ‘Close’ button at the bottom. When the user clicks on 'Close', it navigates him/her to the home screen.
If the data is not synced due to any error, it will show a popup stating “Sync Failed” with two buttons below it:
Retry: If the user wants to retry syncing the data.
Close: Clicking on this will navigate the user back to the home screen.
After logging into the application, the user lands on the home screen of the HCM app, which displays the 'Help' button on the top right.
If the user clicks on the help button, it will give a walkthrough of the entire screen, including the role of each button placed with two buttons:
Skip: If the user wants to skip the walkthrough at any point.
Next: It will proceed to the next action aligned.
The text box appears at the bottom of the button.
After a user logs into the HCM app, the project selection screen displays all the projects assigned to the user. This will be displayed only when a user is assigned to multiple projects.
On this page, the following actions can be performed:
A user has to select one project.
After selecting a project, the system downloads the data for the selected project only.
After every login action, the system will automatically sync the data with the system.
Since the user will log in only at the start of the day and before going into the field, there must be stable internet connectivity for the device to perform this process.
A “Sync in Progress” window appears on the screen and the user cannot perform any other action until the process is complete.


