
Setup Kibana Dashboard
Create and configure health dashboards in Kibana
Overview
This document outlines the steps required to create and configure health campaign dashboards in a different space within Kibana.
Pre-requisites
Knowledge of creating dashboards in Kibana. - Dashboard and visualisations
Transformer and indexer services are up and running to enrich data for KPI creation and push data to Elastic Search.
Steps


Create or select a space
By default, users will have access to the default space.

To create a new space or edit, open the main menu, then click Stack Management → Spaces for an overview of your spaces. This view provides actions to create, edit, and delete spaces.
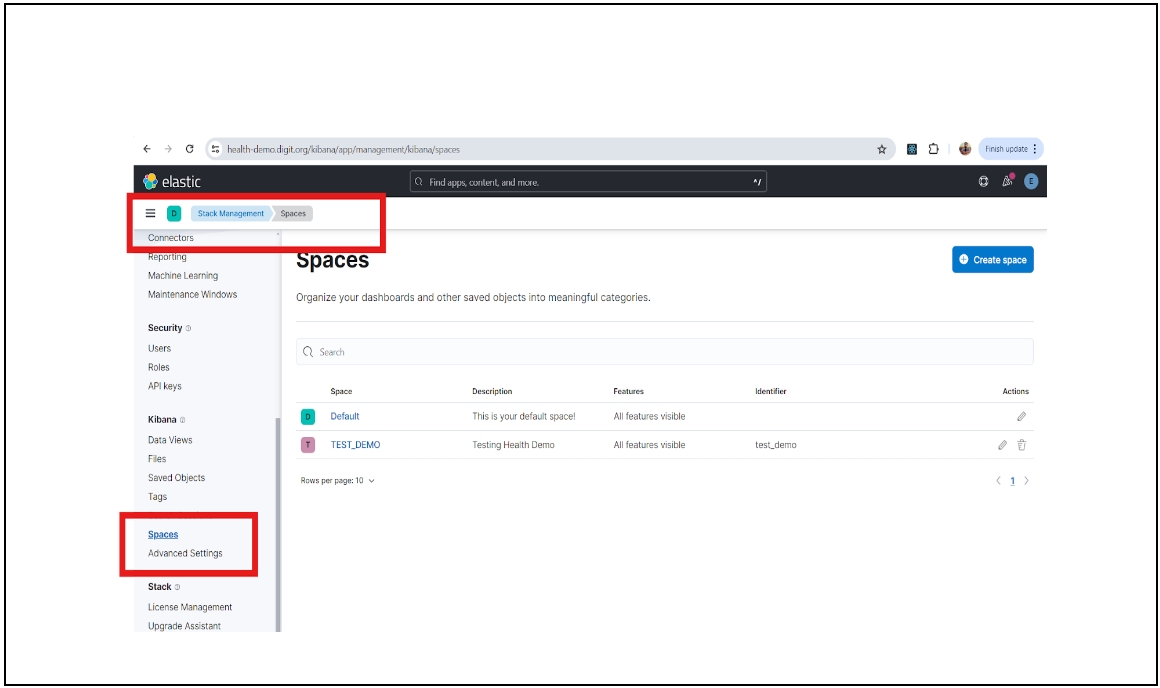
Switch to or create a new space where the dashboards will be configured.
Visualise data views & dashboards
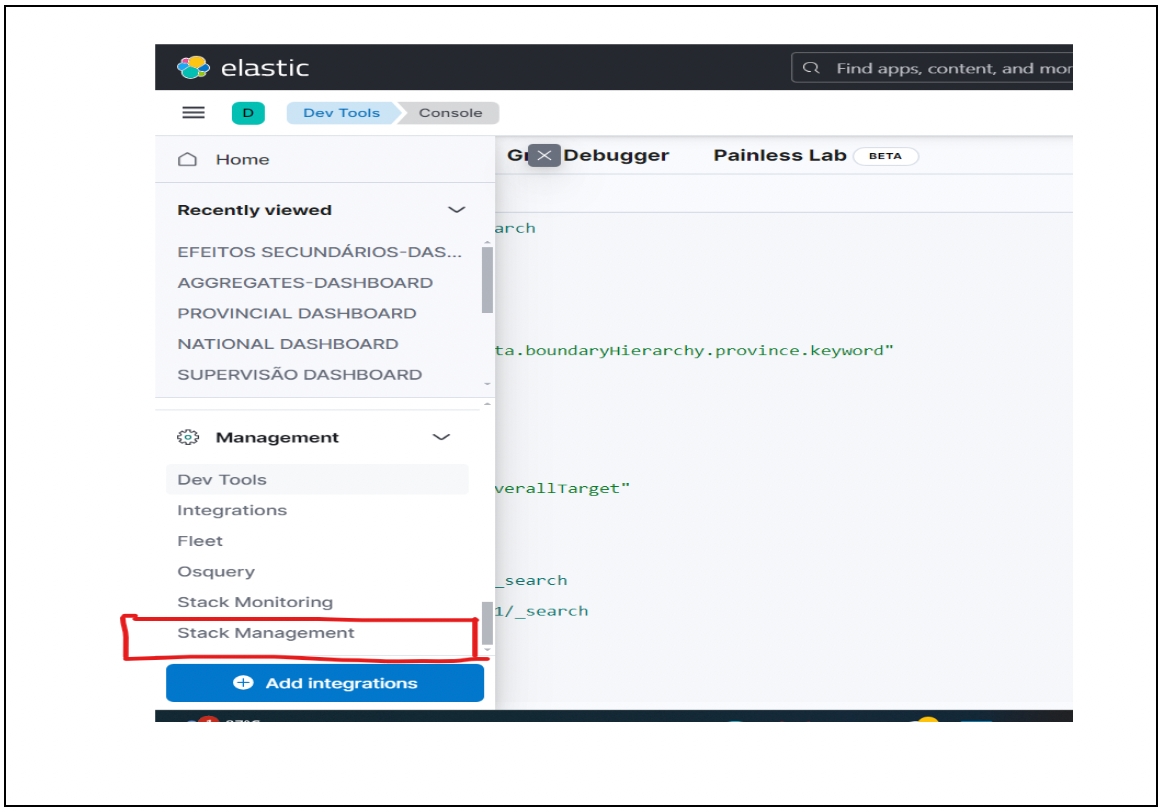
Navigate to the “Stack Management” in the sidebar.
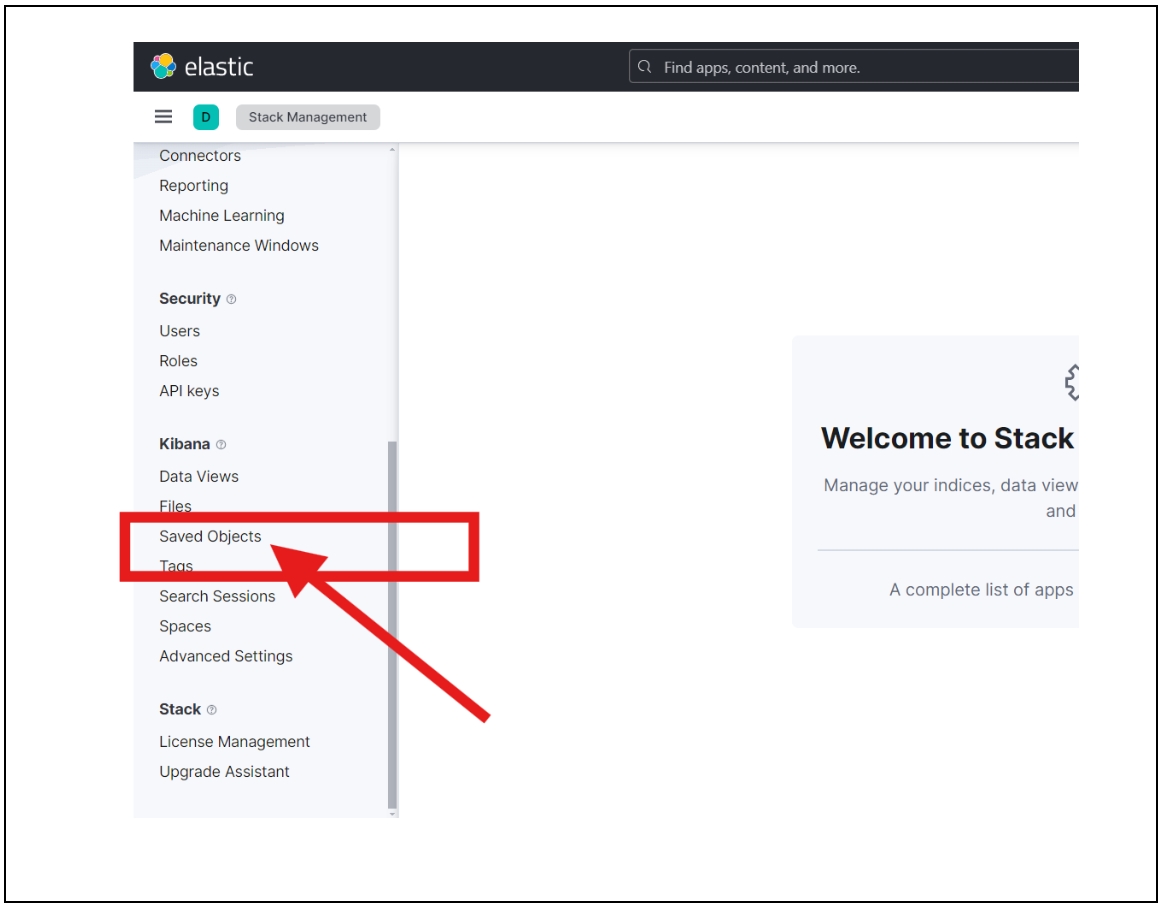
Click on “Saved Objects” under Kibana.
Import the data views file here. Data views contain the queries and charts needed to fetch data from the indexes. The file to be imported:
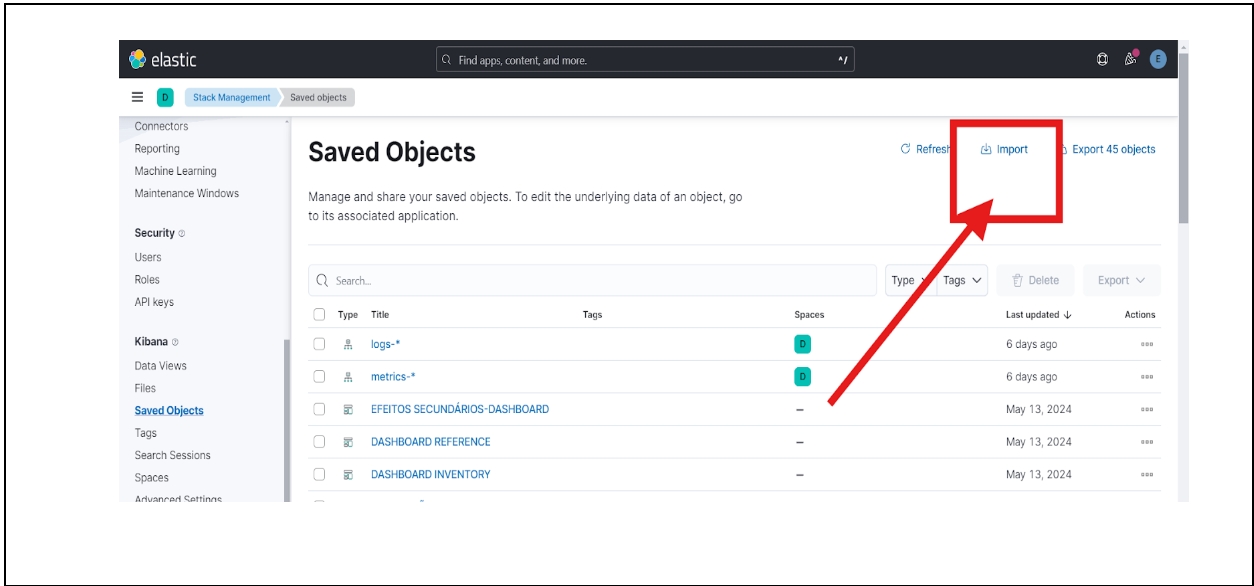
If you need to create your own data views, follow this guide: Creating Data Views in Kibana.
All dashboards and data views will be imported here and can be viewed under “Saved Objects”.

Last updated
Was this helpful?